Saab Link Forums banner

Wood dashboard

7.9K views 41 replies 5 participants last post by  Fizik  
#1 · (Edited)
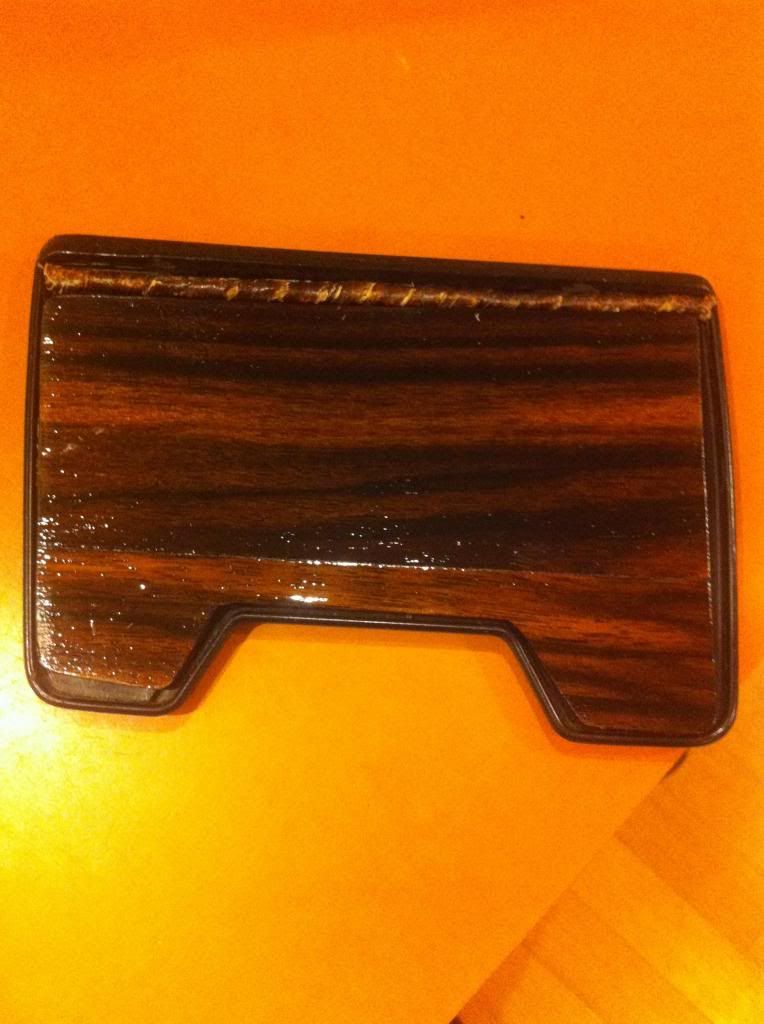
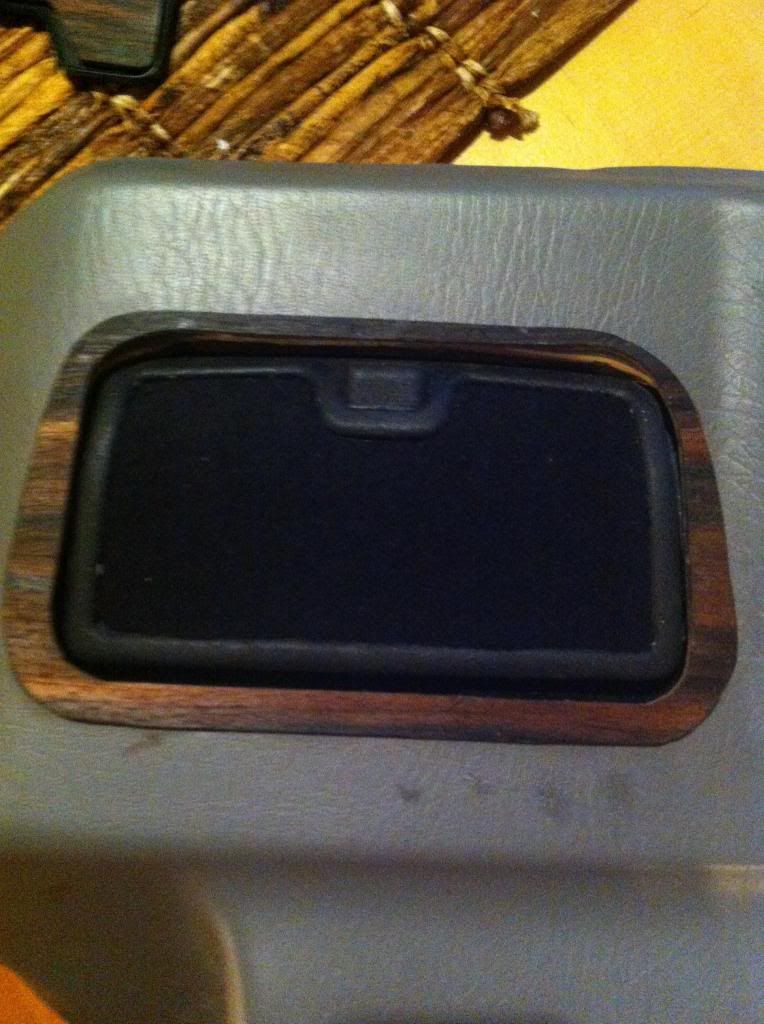
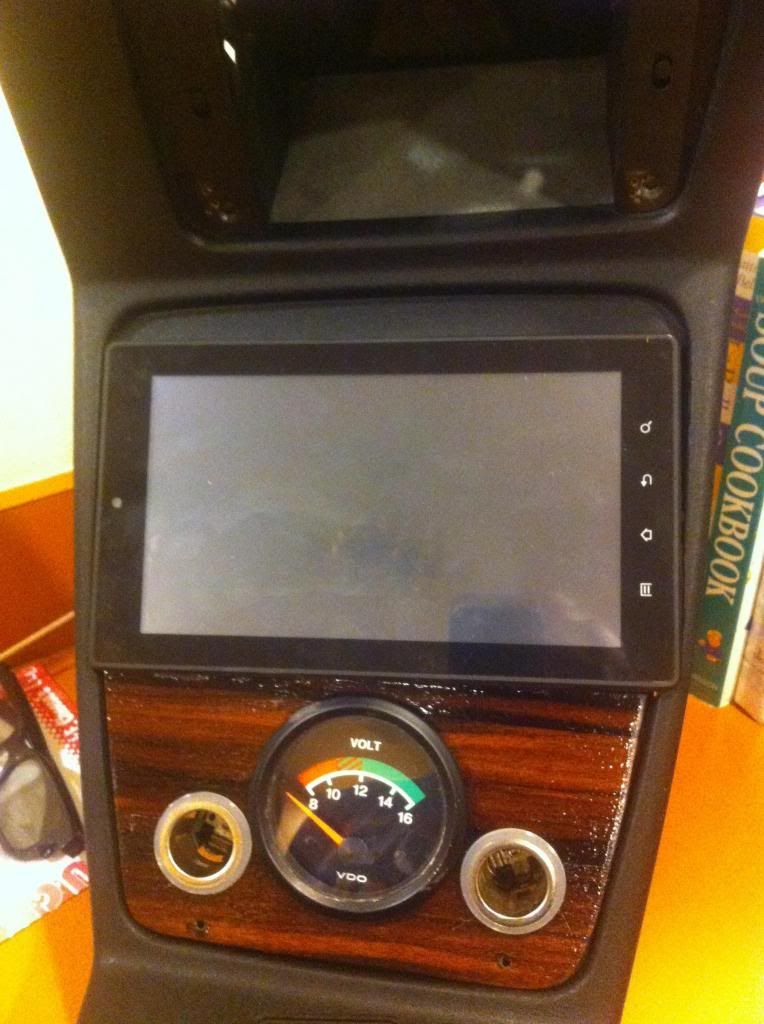
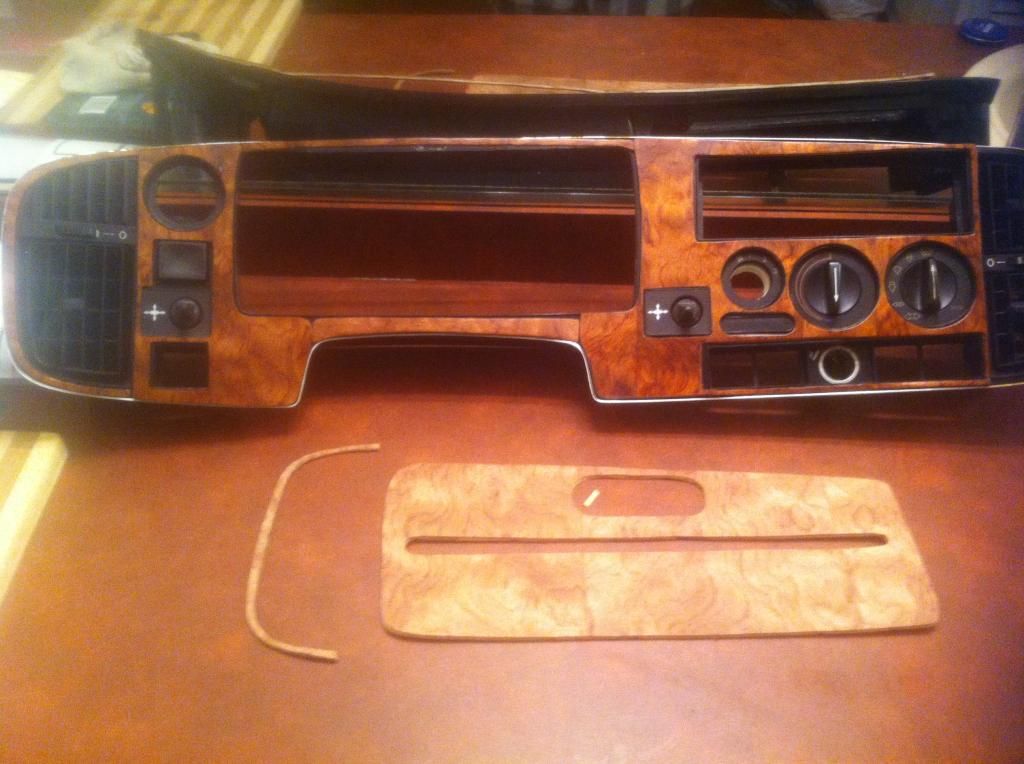
I tend to like custom touches and especially those that are subtle and not too obvious. The original dashboard vinyl cover tends to ripple a bit after 20years. Especially on the glovebox. And so I wanted to try to make a wood dash.

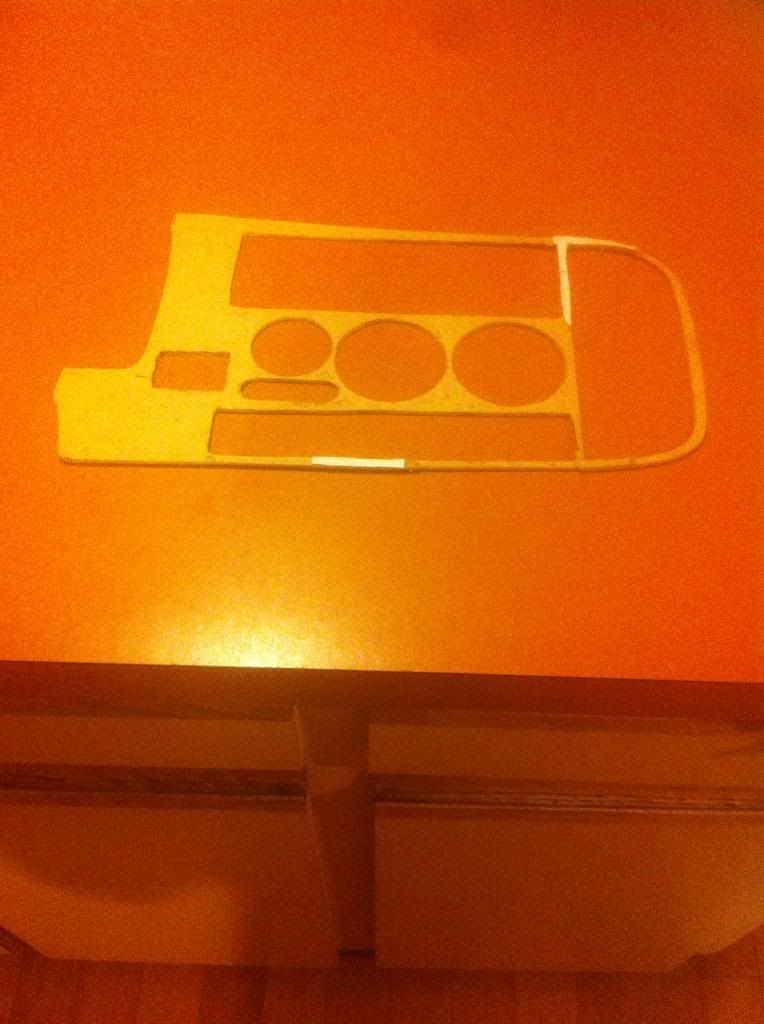
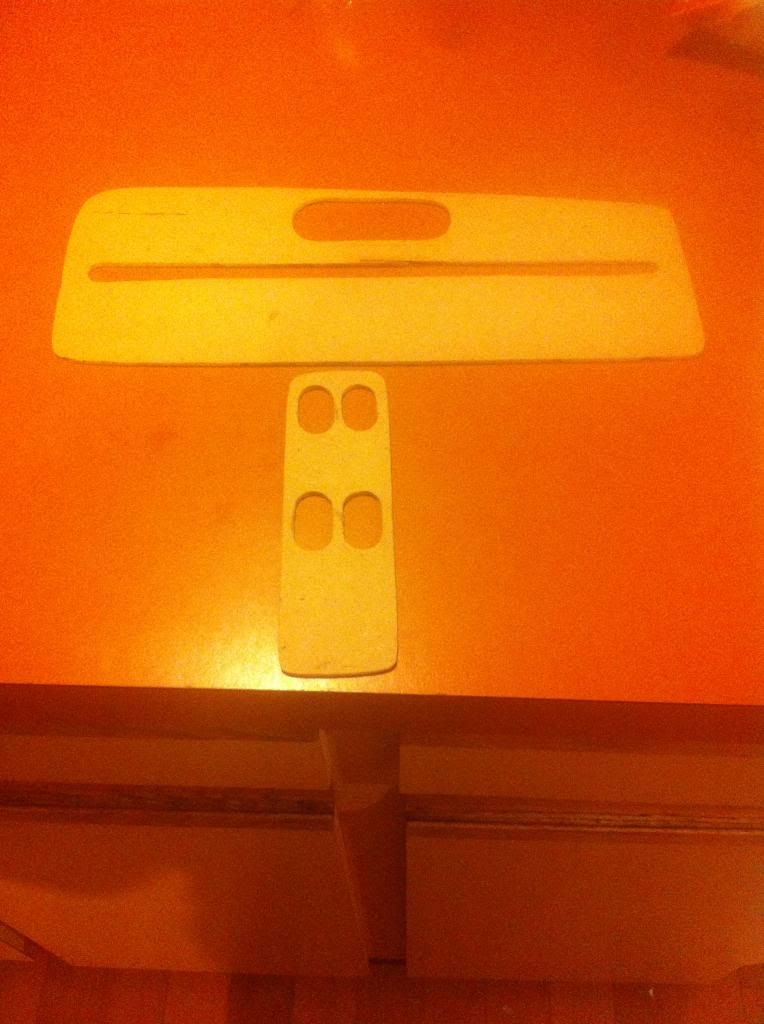
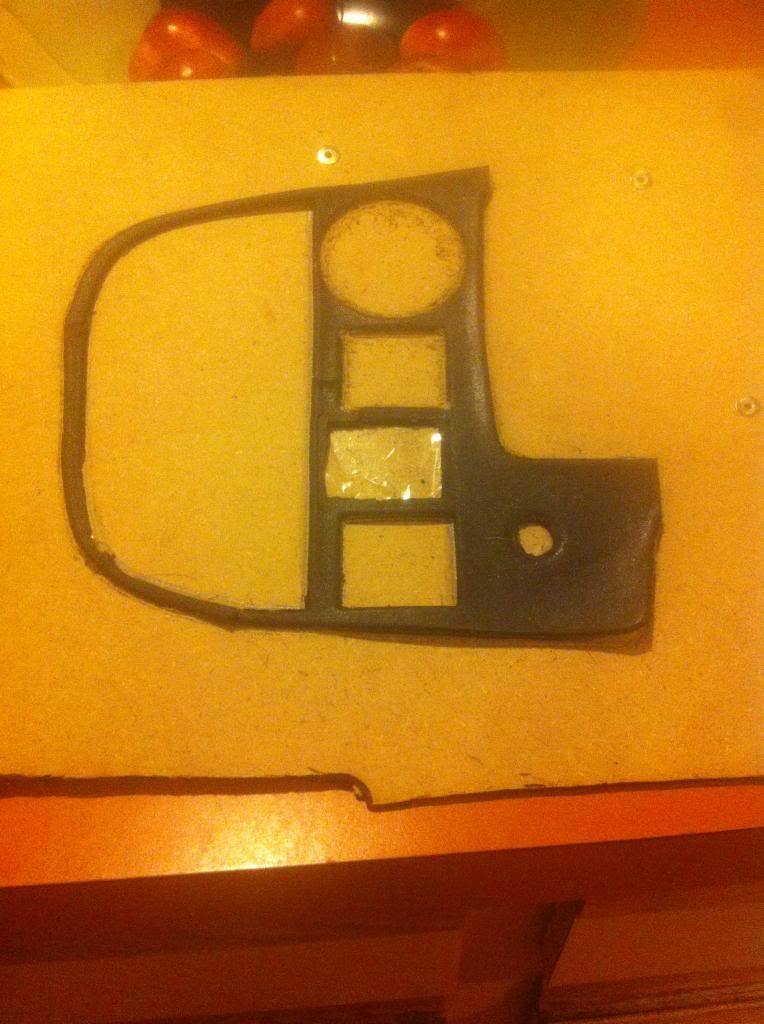
I use a replacement dash so that if I dont get it right I don't have to use it in my car. Some modifications are needed to do this too. I had to grind away the edges of the panel and switches.

Image


Image


Image


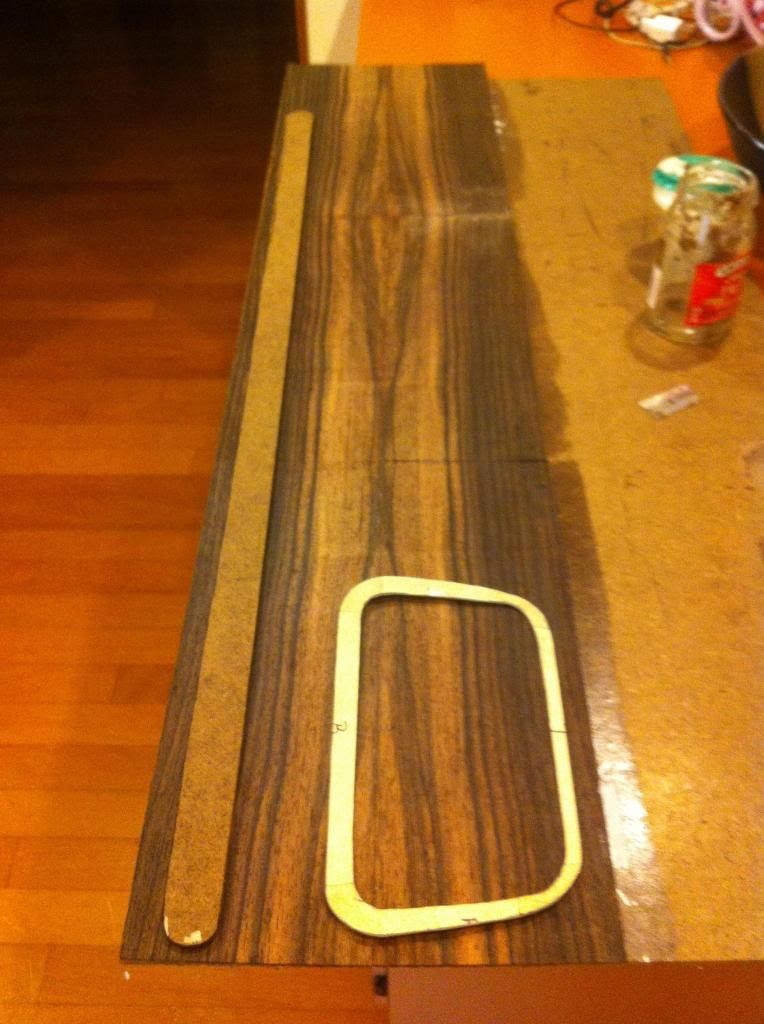
In the middle of the progress I started thinking about the wood I want to use. I did not want the splodgy walnut or whatever is used on the original. It looks too flashy. But american walnut was ok I guess. Actually Im not sure still, but since I have to use multiple layers anyway, then the first layer can be more experimental.

Image


Image


Then came the tone choice. Since I dont want the dash to stand out really, then I decided to use a dark stain to colour it. Since the wood used is a bit brownish or redish, then staining it is not what I expected.

Image


But I like the natural and matt finish.

Since it's not done yet then maybe you guys could help out with some ideas about the choice of the stain and the grain of the wood.
 
#6 ·
Are you using some kind of MDF backing or similar to strengthen the veneer.


I am in the process of doing this myself as well. I already did a few custom pieces for VDO gauges and a boarder for a sunglasses holder I custom fit to the knee roll. Now doing the Glove Box....

With the elements you will need to seal that up or it can wither/ crinkle up on ya...

Best would be to seal it with shellac and then give it a shine with reduced varnish,... sanding with steel wool between coats..

Also, the shellac and varnish will fill the wood pours.... if you didn't use a filler they will show up like zits when you shellac!

Love projects like these.... best of luck..... :respect:
 
#7 ·
No MDF backing used - there is no backing at all actually. I'm not sure why the veneer needs strenghtening...

But some kind of sealing might be necessary because of the sunlight. I'd still like a matt or satin finish, but we'll see about that. Right now the main issue is the tone of the veneer and how to achieve it.
 
#9 · (Edited)
You can only achieve tone through staining... But that's the least of your worries really..

The most important thing is to strengthen, seal, and protect the veneer...

No MDF!????

ouch:censored:

veneer is usually not thick enough to survive on its own. Someone can poke a finger through it with no problem..

You must use a backing or it wont last! backing also stops it form warping in the sun

Also, you must seal it even if you don't varnish.... sealing protects it from the elements.

remember its wood. it will suck up moisture like no tomorrow and heat will disfigure its shape without a sealer..

Not to mention its porous. if you ever splash anything on it, it will stain it and your efforts will be trash..

Please do some research on veneers..... its not too late to do it properly and make it last...

Skipping an MDF backing and no sealer means your on borrowed time...

Good luck...

Also, to do a really really good job you should fill the pores with wood filler before you stain....

you don't see them now but when you seal it the pores will show through like a fat chicks muffin top in a tight shirt!

trust me.. I have done this project twice already...

doing what your doing is why I am doing it a second time...

but even I used MDF on the first trial run! its very necessary...

Cheers,
 
#8 ·
The OEM has an epoxy finish--like they use on bar tops. That's your best bet. You can sand it after it dries with some 800 grit wet paper to cut the gloss. If you are looking for a thinner finish, you can probably use SprayMax 2K clear, and knock back the gloss on that too.

This looks like a nice project. I like your wood choice. :th_MySaab900Like:
 
#15 · (Edited)
Here is a veneer piece going on my vert. I custom fit to the ash tray door.

It hasn't been varnished yet. It only has wood oil rubbed on and shellac.

Look how badly the wood pores show up. It will take a few coats of varnish to get it smooth.

I used a ebony walnut veneer. No stain, just sealed with shellac.

 
#18 ·
One other thing...

Fill all the depressions and perforations (that aren't getting knobs or buttons) in the gauge bezel and glove box with bondo or something. If there are any places that the veneer bridges without bonding flat, it will blister there. Just like grandma's old dresser top. The reason that the OEM plastic fascias blister, is because there are gaps in the surface behind those areas and the material flexes. I've repaired blistered glove box covers by soaking them in boiling water to get the plastic piece off, filling the cavities, and then regluing them.

What you are doing with the grinding of the edge is correct. That is the way the OEM is.

I have no experience with the backer B202 is referencing, as I've only worked with the OEM walnut bezels. I have repaired the cracked finish on a couple using bartop epoxy--it builds up nicely and polishes to a high gloss. Not the easiest stuff to work with though.

Image
 
#23 · (Edited)
that's awesome work,.,.


Burl is the better option for sure.... expensive though..

I was afraid of it because the surface is so rough.... since it was a first go for me I didn't wanna waste the dough on good burl and screw it up...

if I could go again.... I would definitely go Burl,.,...:th_MySaab900Like:


How did you paint that glove box section???.. very Bold understatement.. I like that a lot!

Are you running that car now?

Also love the leather shift gaitor... it has a vintage tint.... Just perfect..... not old....
 
#26 ·
that's awesome work,.,.

How did you paint that glove box section???..

Are you running that car now?
The OEM is black there with a silver foil stamp around it--black "900". I sanded the silver off and painted the "900" white. To do the walnut burl, you paint the cavity with a terracotta color, then with several shades of brown, you daub and mottle and grain to simulate the burl. Let that dry and apply the clear finish. I may actually veneer the area some day, but this works for now. No offense to fizik, I didn't want to do the whole glove box. The simple accent was all I was looking for. This is not the OEM glovebox from the car. The CE's just have the flat front with the little 1/8" indent down the midline.

This is my "good" car. The motor is out for rebuilding--cracked piston. Hopefully back together this year.
 
#29 · (Edited)
Before you make a final decision, go to Home Depot and grab a tin of Tung Oil.

rub it on a section of the non-stained wood and then rub it on your stained wood and see what you like best..

Tung Oil brings up the natural sheen of the wood and will totally change what your looking at now..

you might be inclined to stay without stain but the Ebony is a winner just the same!

nice work...

Don't use Linseed Oil; it takes too long to dry... its cheaper than Tung oil but not a great quality...
 
#31 ·
Attempt nr 2.

This time using ash veneer. Since the wood grain is not consistently "as pretty" through out the full lenght of the veneer piece as desired, I cut the veneer in half long the fibers so I could combine some patterns.

The veneer started to wave a bit when i merged the to halfs together and glued them to the lid. Caused some trouble when sanded and a few air pockets appeared, but it's no big deal.
Image


After sanding I had a slight idea how to get the tone I desire, but still kind of experiment.
Image


Image


Image


So the I fitted it to the car to see how it looks. And I'm pretty ok with the result. The epoxy finish will pop up the grain a bit more and give it more depth. And you can see that the air holes are still there. I'll fill the in with the first coat of epoxy, then polish it and paint a black decorative stripe through the middle of the lid and a small Saab airplane emblem on the right where the "900" usually is. So this covers the imperfections too :)

Image


Image
 
#33 ·
^^^ this!


wood filler can help you with the imperfections if you don't wanna cover them.. Actually, you really should use a think layer over the entire panel. it wil fill the wood pores you cant see yet..

Once you put your first coat if sealer on it you will see them and wish you had filled them. if you don't use filler, and want a very smooth finish your will need a very thick epoxy or use multiple coats of your final sealing agent..

Trust me, find a wood/hobby shop and source the filler for the wood your using... it will save you a lot of labor..


looking nice...

if your not committed to the walnut (seems your almost done) would be a good time to get some Burl and really make things look rich..

I am using Burl for my glove box project and the 1.5 inch indented spaces in the door panels just below the arm rests..

I may do the door cards but the Jury is still out on that one..
 
#34 ·
Here is the beginning of my wood project. I was unable to get things to work properly making the dash all one piece. The vent surrounds never cut to fit. So I broke down the dash into 6 pieces..

here is a rough example of some of it.... These pieces are totally ready for veneer. The hard part was cutting the pressboard. I used my dremel and it still proved to be a bit of a challenge.

I found it best to get each section perfect before moving on to the next. So if I cut a hole, it was trimmed perfect before I moved on to the next one. This kept me in control of the project and didn't pile up to much touch up work..

MDF provides supportive adhesion. brings the veneer flush to the dash; IMHO its a complete necessity for making wood accessories..


This and the vent pieces have already been cut, just a lil trimming and I can shop for veneer. I am tossed between ebony maple and burl maple... Decisions


this will help future users make an informed decision on whether or not to put a backing on their project...

More work but makes all the difference in quality of work..
 
#37 ·
I still have not finished it. I could call it the "Test period". I finished the glove cover with epoxy, installed it and been driving around all this time. I wanted to make sure, that it holds up to the sun and moisture. The test result is positive and it's ready for final finish. Hope to get it done next week. Already removed the cover and prepared it for one special touch and polish.
 
#39 ·
Nice!

I turned my own so I could fit the same kind of disc used on the stock shifter. It's inset into the turning.

BTW, a rubber O ring slipped into the groove on these knobs make them a bit grippier.

Image
 
#40 ·
Thanks. Yes, the rubber o-ring is missing on the picture, since the knob was not cured yet.
Yours is nice too. Wondered before if it's a kind I have not seen or what. But it looks oem, which I like