

Just installed my Walbro 255 LPH pump in my 91 9000. Took some pics along the way. This should give you a good idea of what's involved. It took me an hour to do, however I had already taken out my back seats so it went a little quicker for me. It's not really necessary to remove them, but I'm swapping them out so I was already there. If you want you can remove the top half or the rear seats and you'll be fine. Here's a step by step for you. I think pictures will give you a better idea of what's needed, so I included a bunch of them.
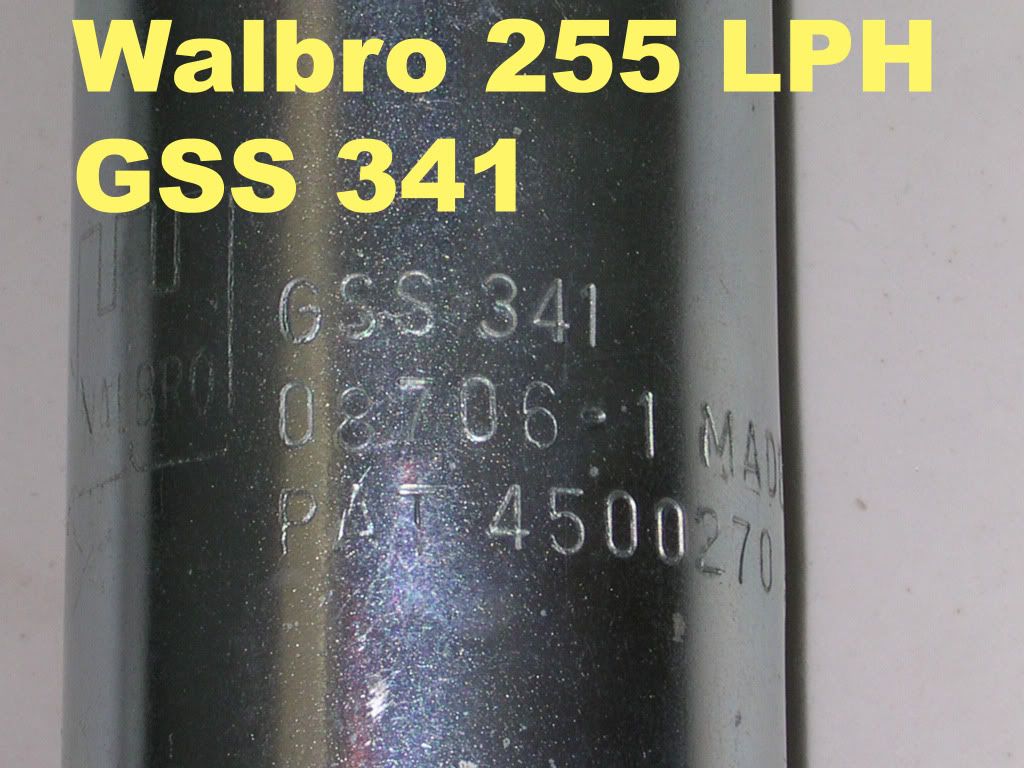
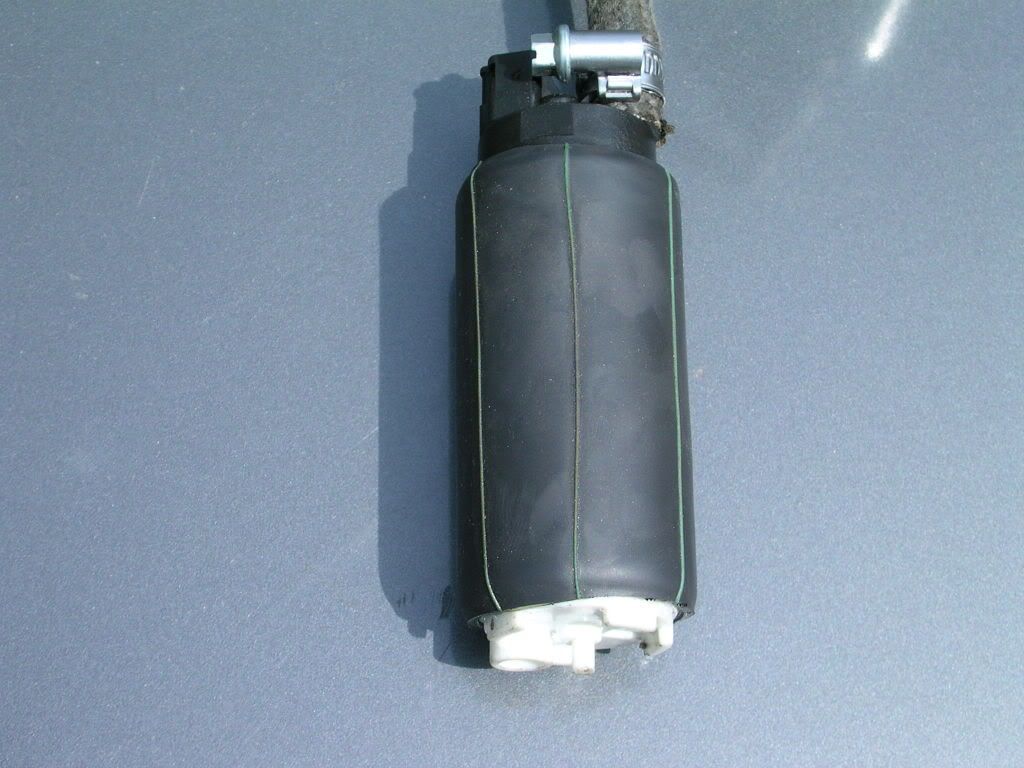
Pump I used
![Image]()
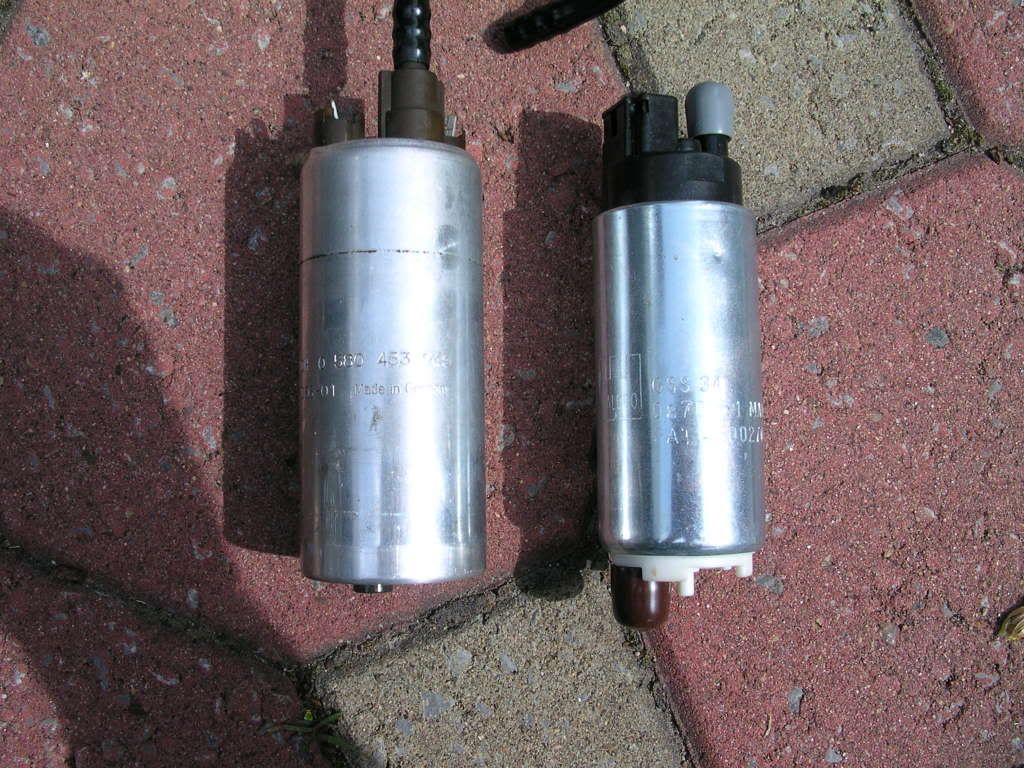
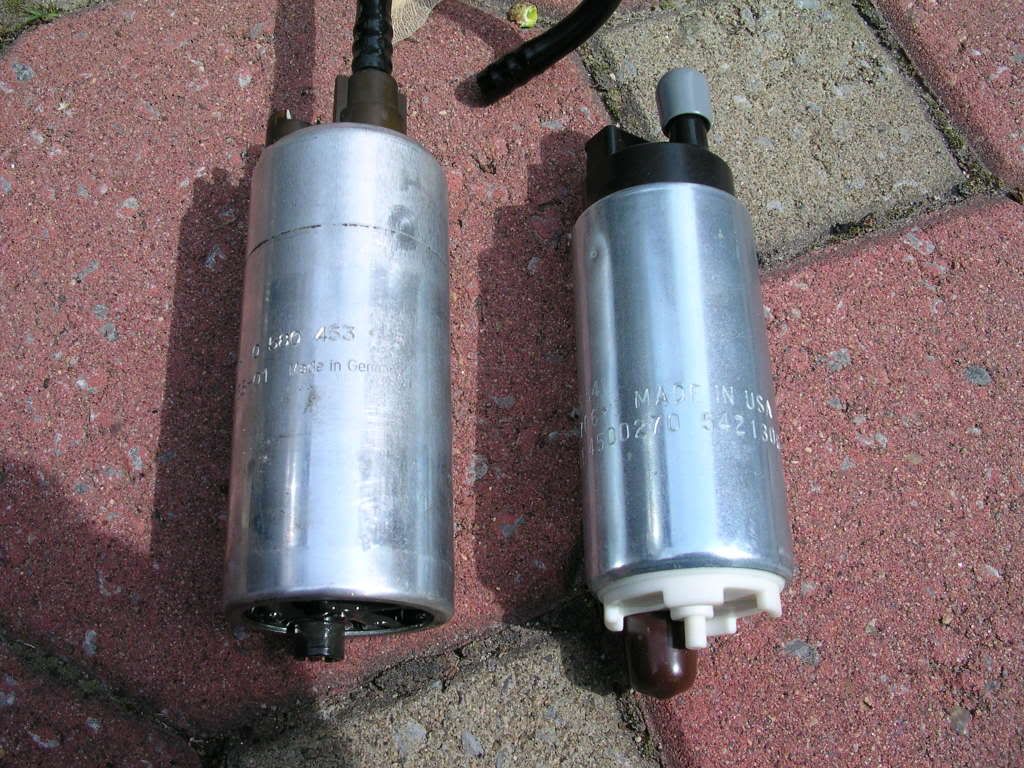
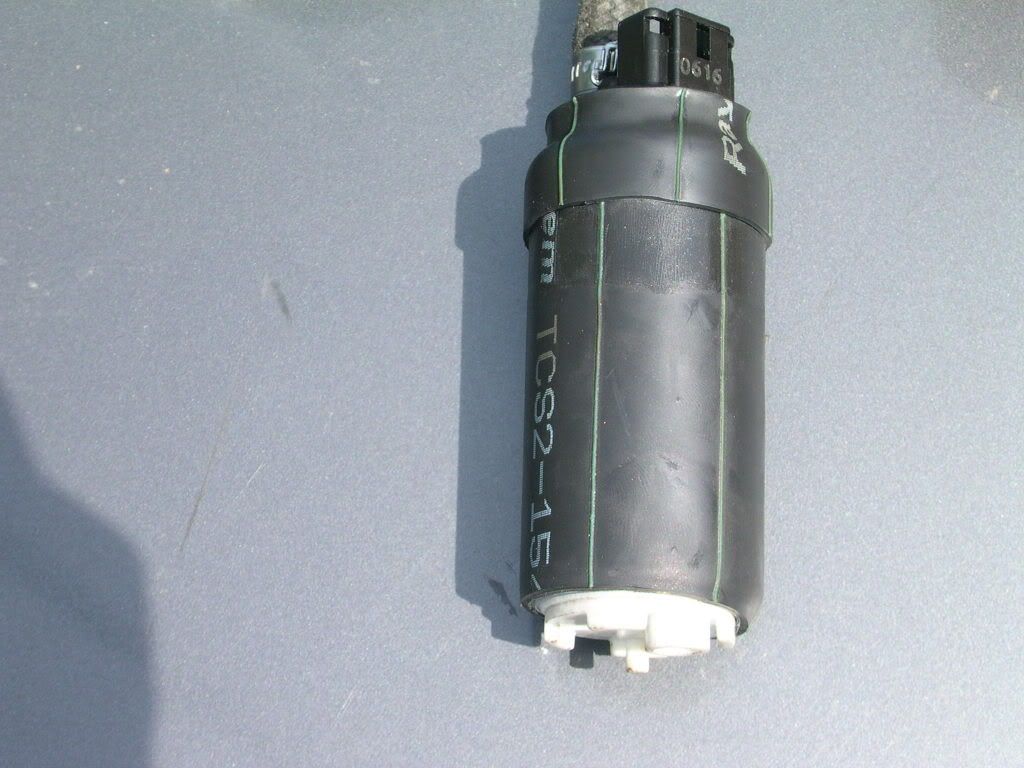
Comparison of Bosche (OEM) and the Walbro 255
![Image]()
![Image]()
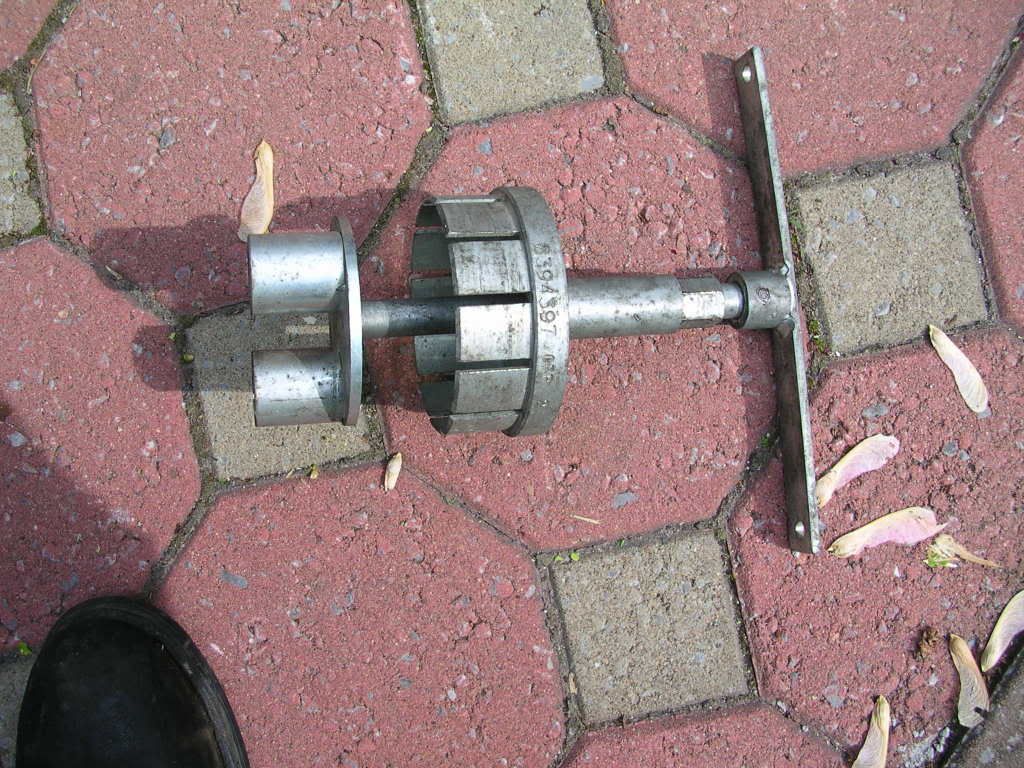
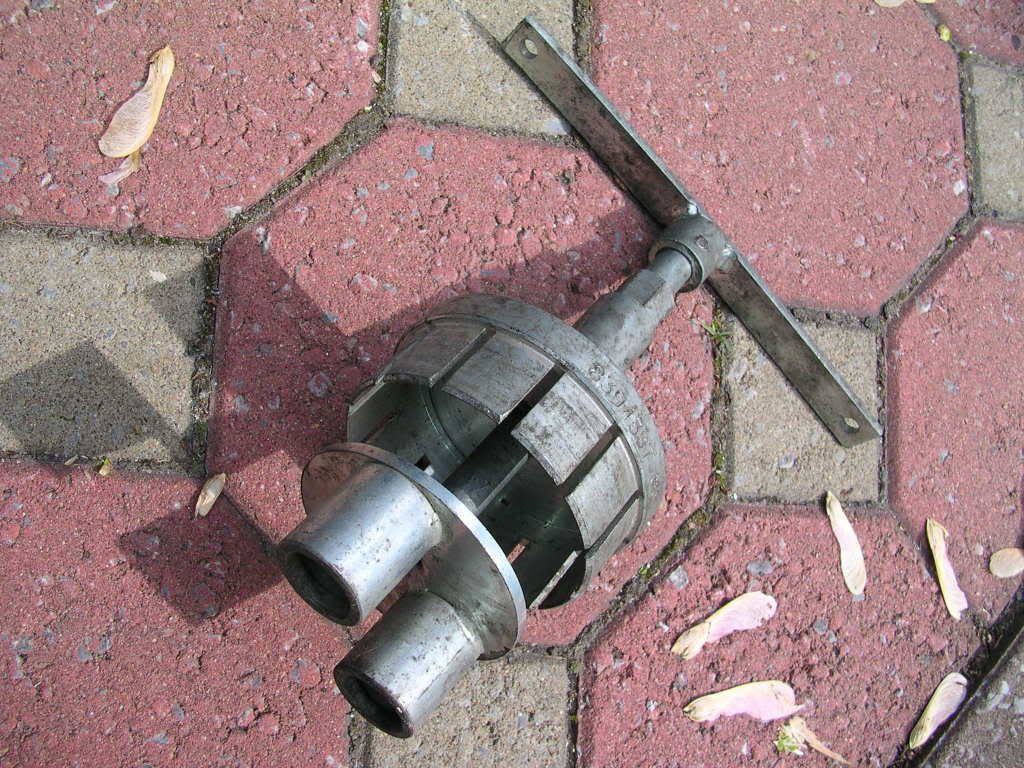
Tool used to remove the pump housing's screw-on retainer, actually my tech gave me the wrong one. It had to have a bigger toothed wheel, but I made due and managed to take the retainer off without damage.
![Image]()
![Image]()
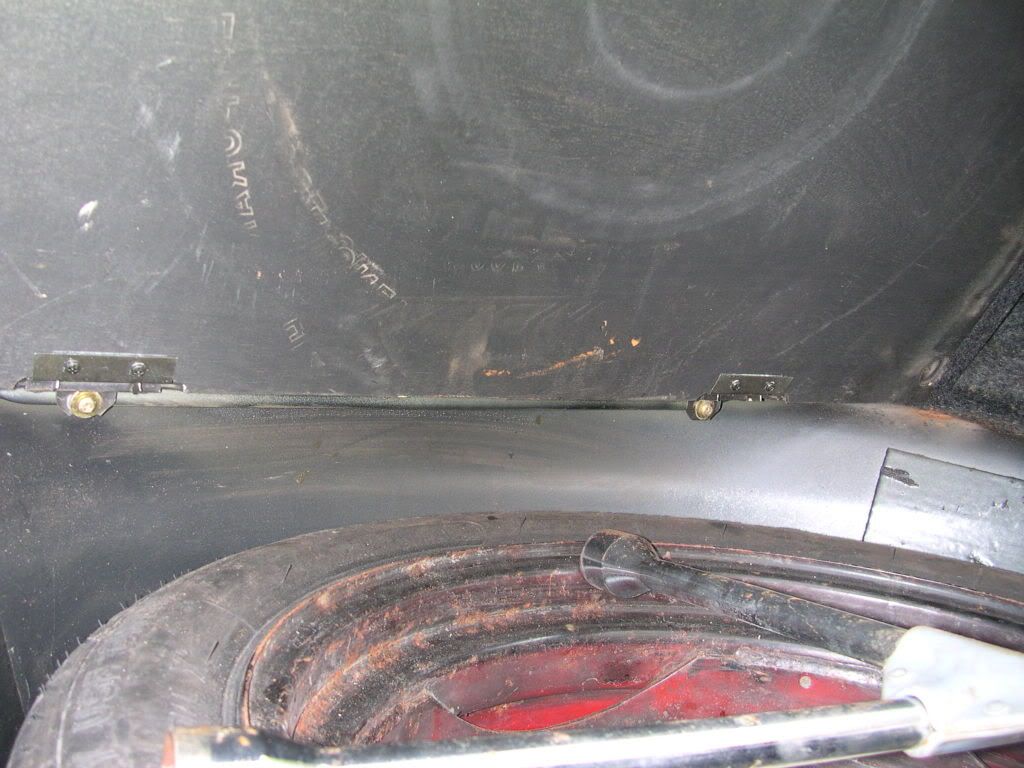
Location is right behind the rear seats, dead center of car.
![Image]()
Remove the spare wheel cover to access the pump. There are two screws to remove, and it come right off.
![Image]()
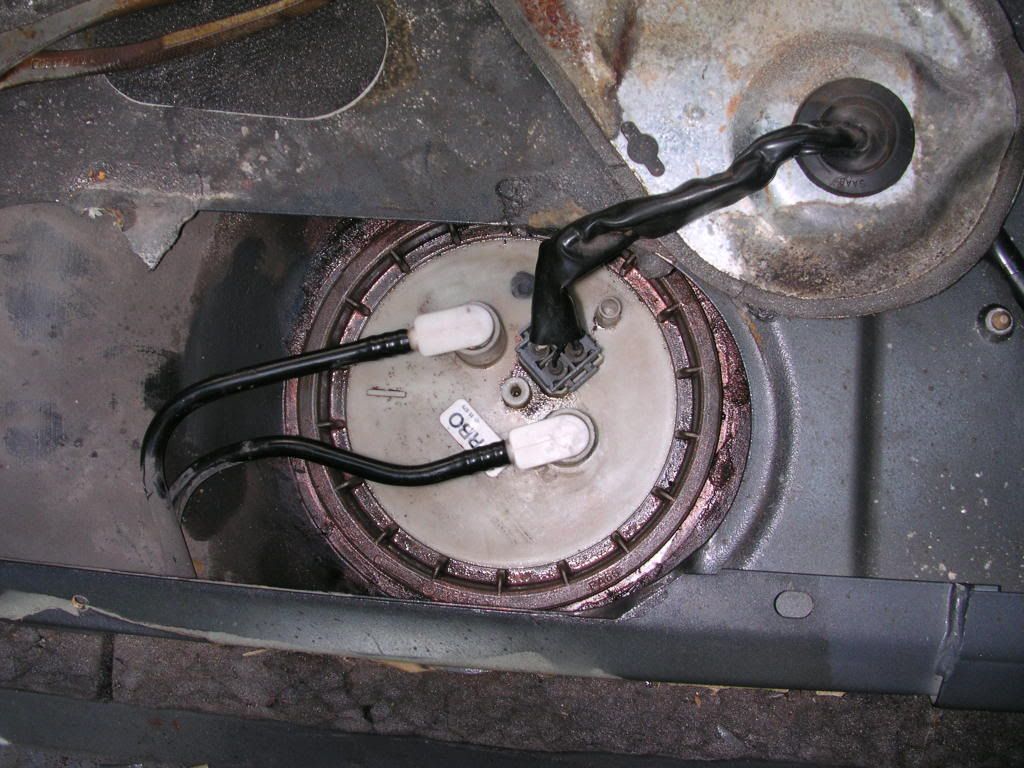
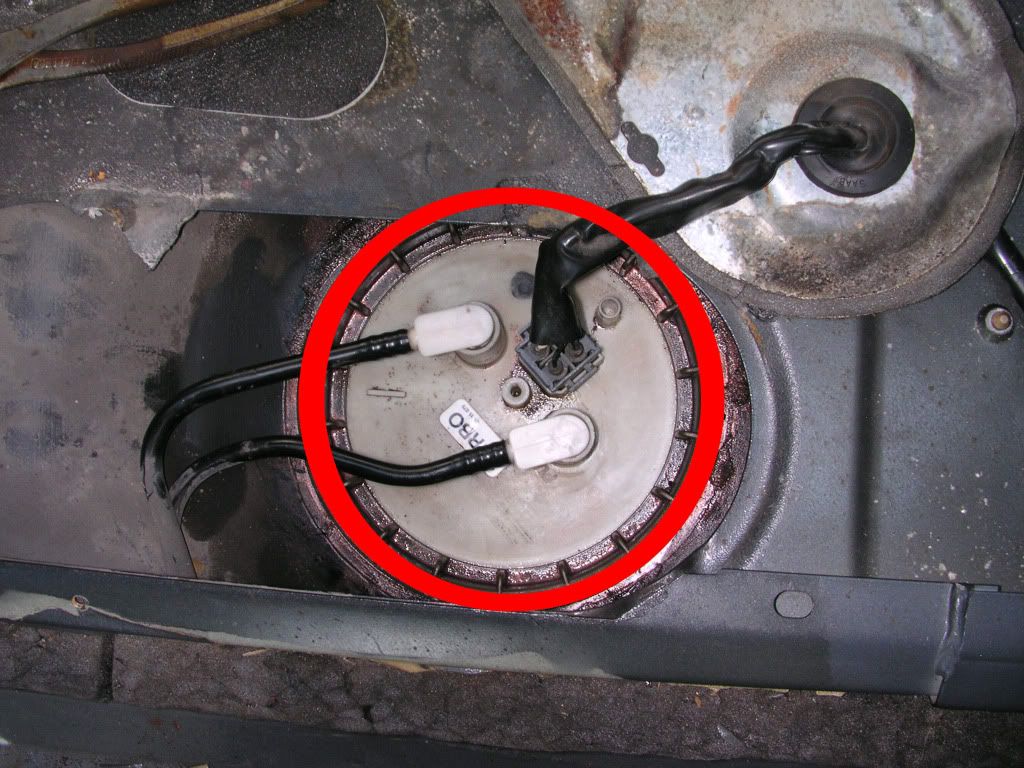
Once the cover is removed, this is what it looks like.
![Image]()
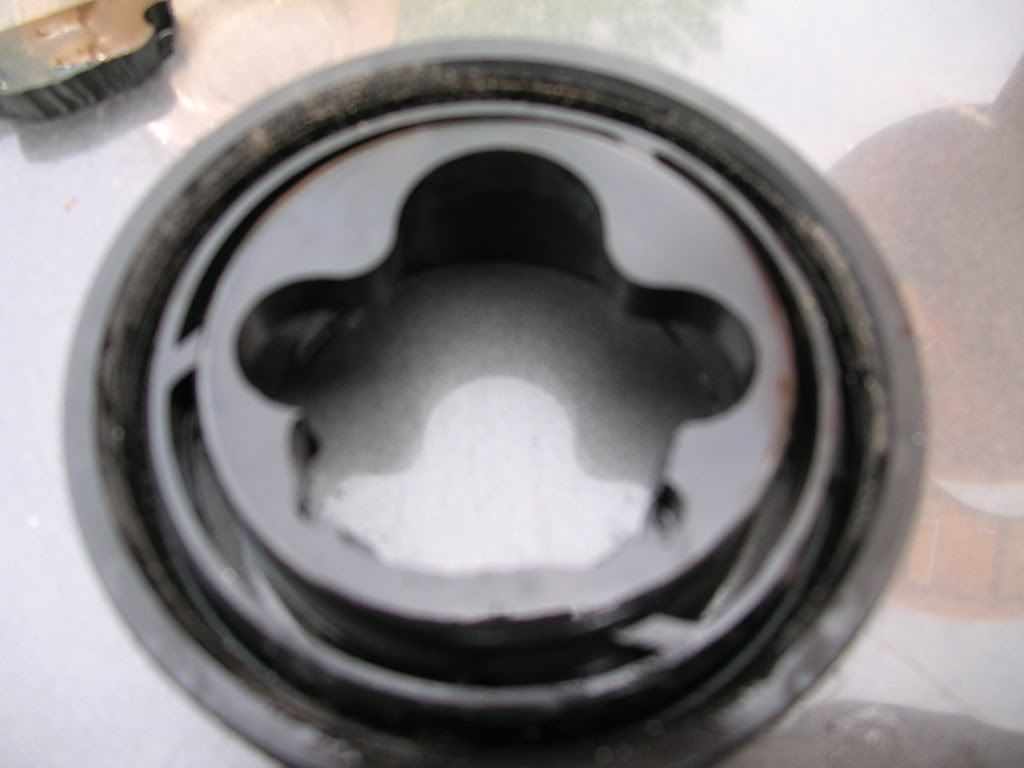
Remove this retainer, might have to get creative, I sprayed it first with lots of WD40 and then used plier handles and twisted. When I say plier handles I mean the part where you normally grab was placed between two slots on the retainer and then I twisted.
![Image]()
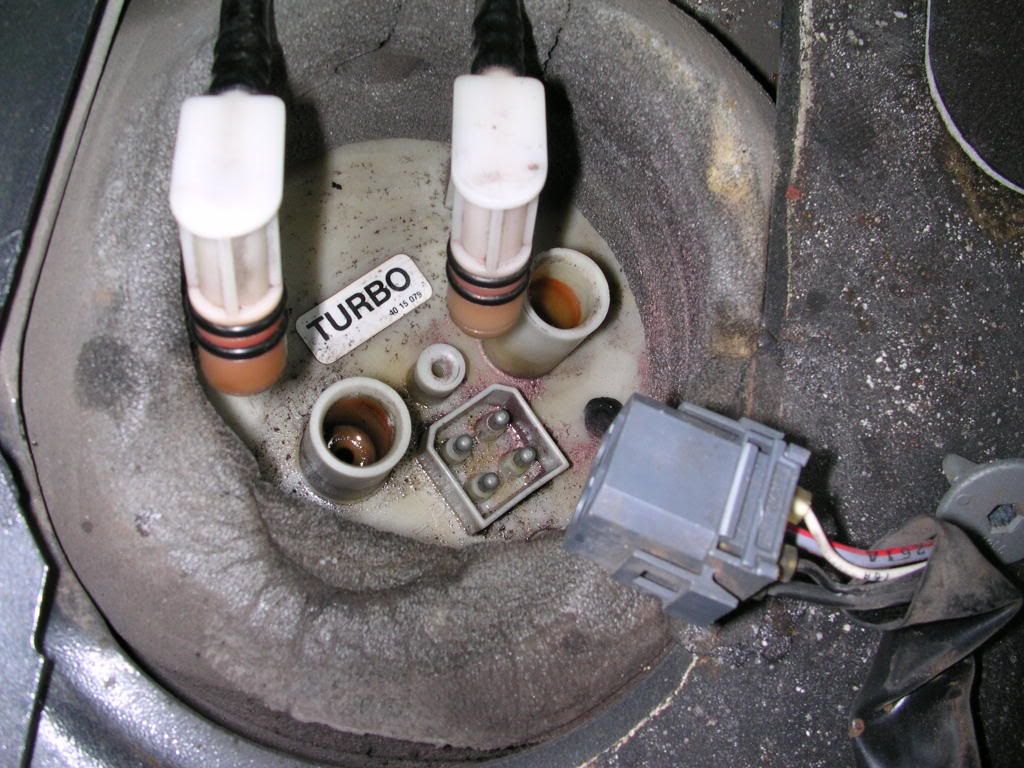
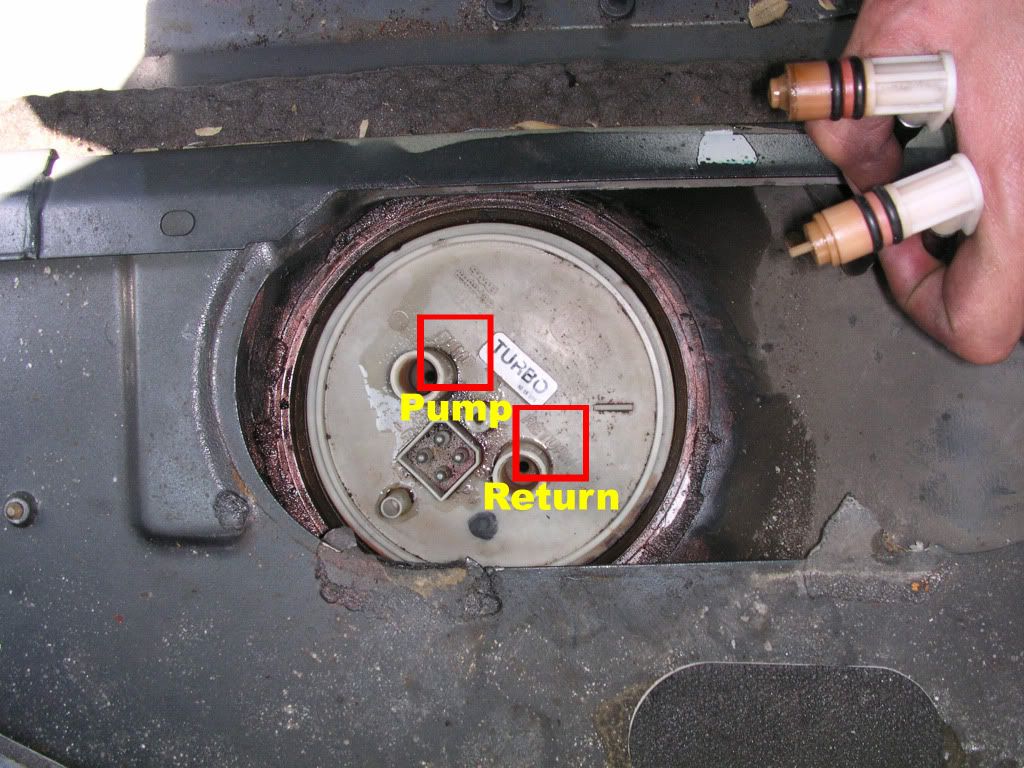
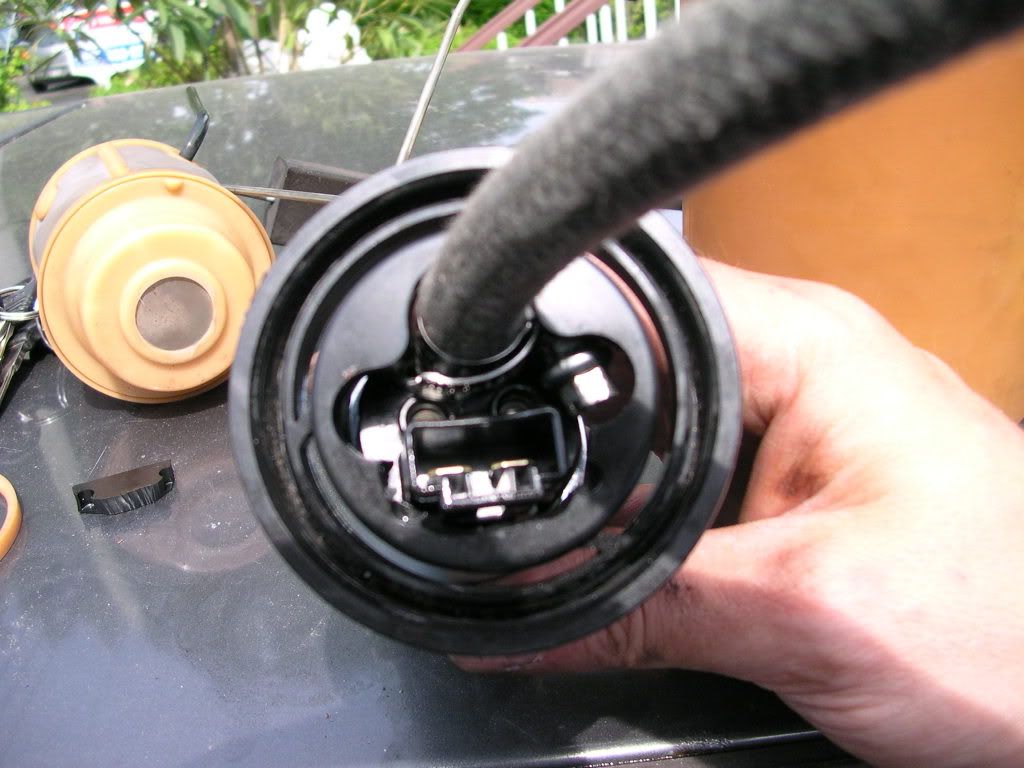
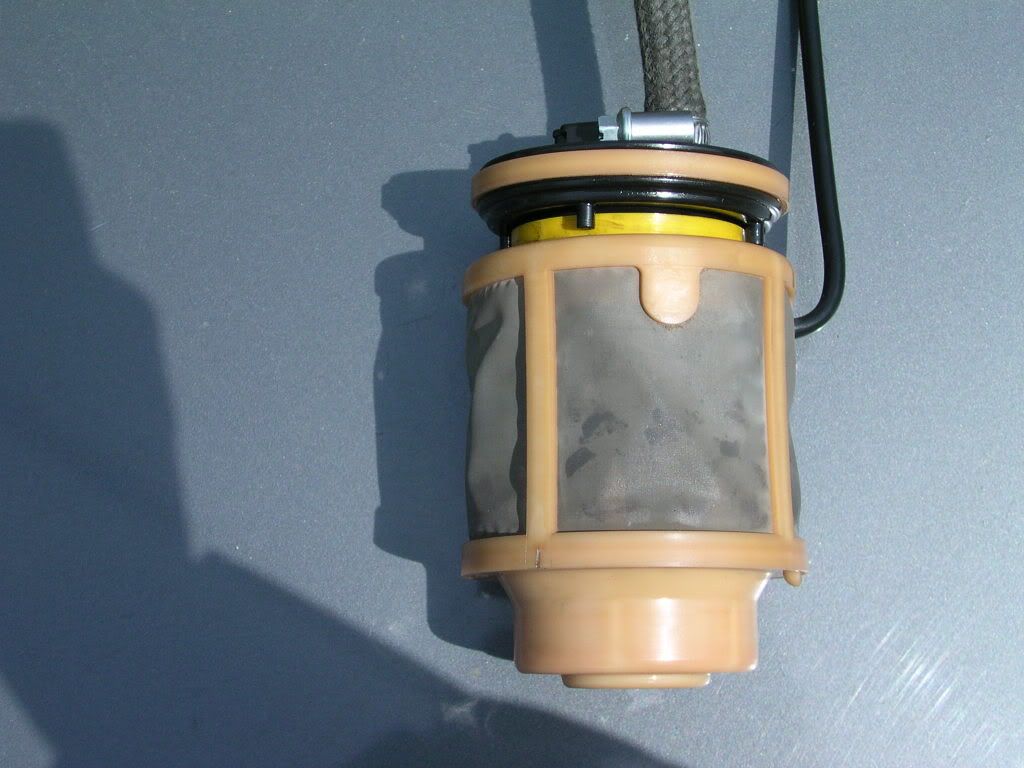
Mark your return and pump hoses, and pry out slowly by hand, these thing can be pretty fragile. Don't pull on the hose part cause more than likely, you'll snap it right off.
![Image]()
![Image]()
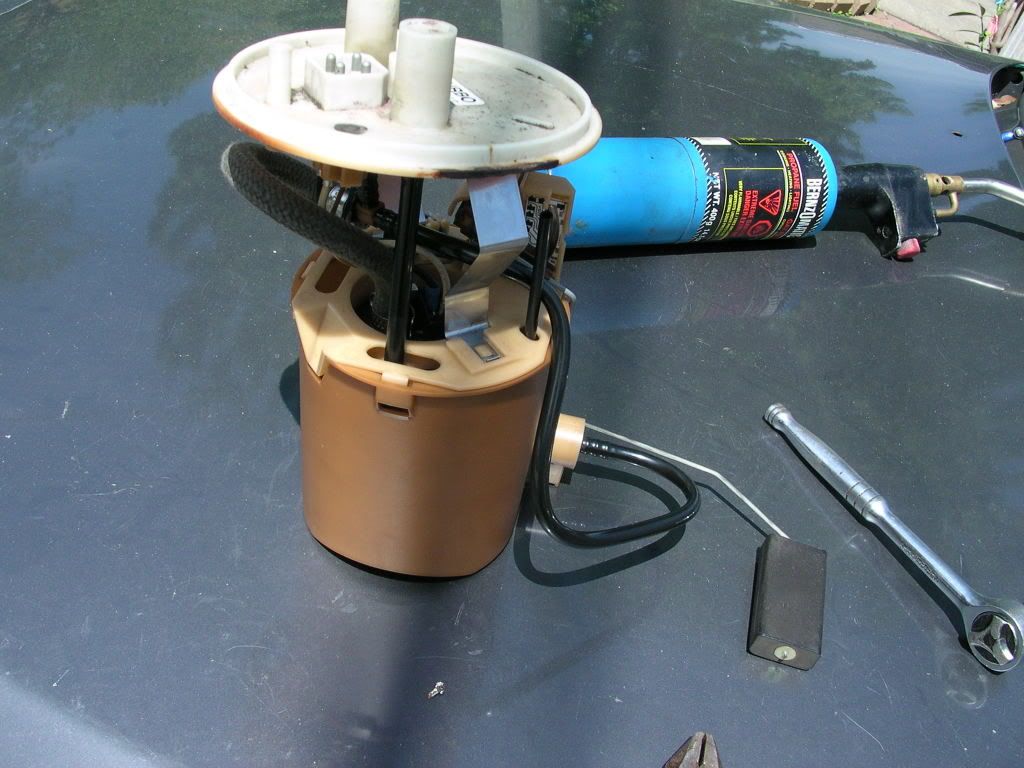
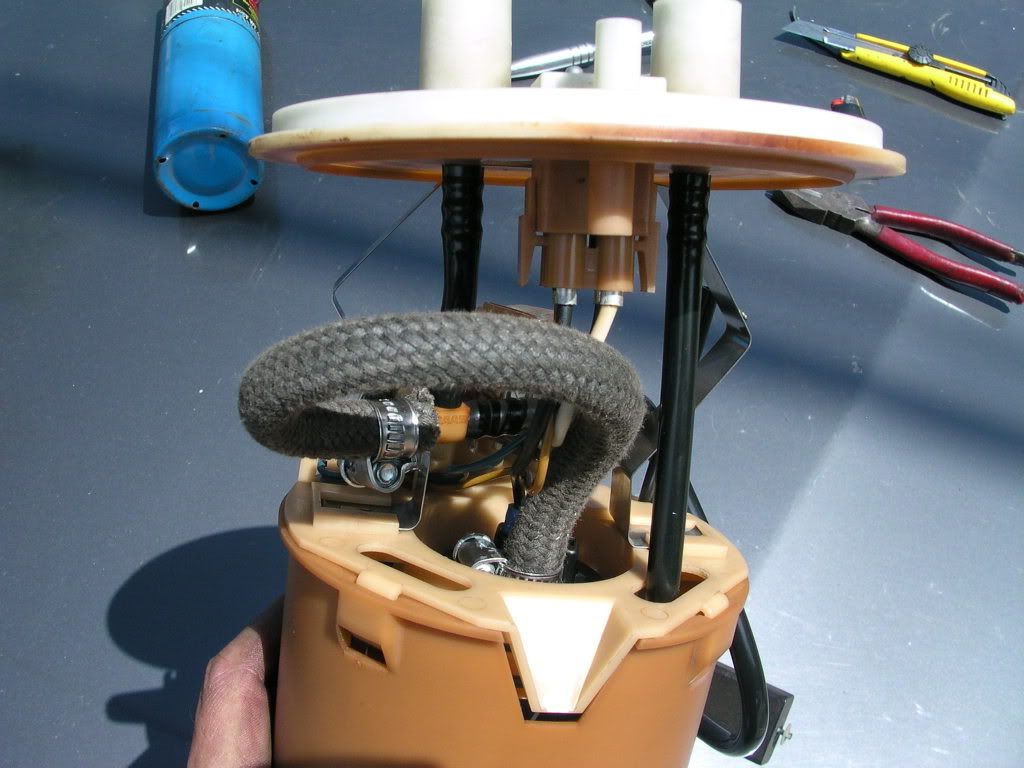
Remove the pump housing at a slight angle, once out remove the metal bracket. It is clipped to the lid, just use a small screwdriver and unclip it.
![Image]()
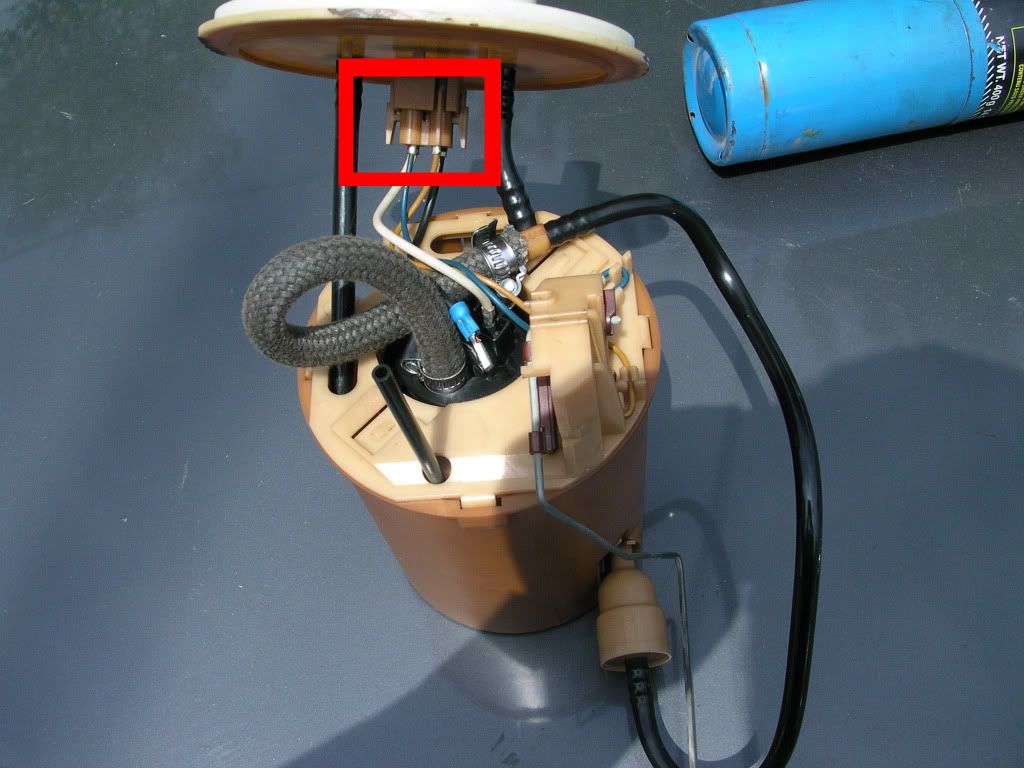
Unplug this
![Image]()
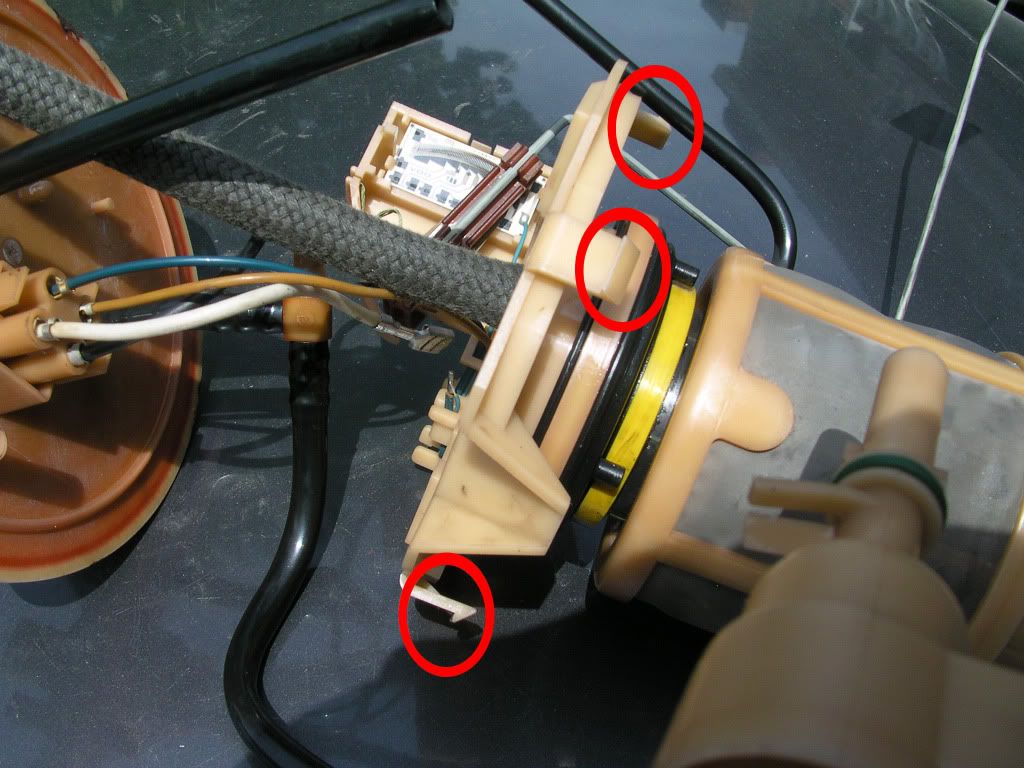
Separate the housing by unclipping these
![Image]()
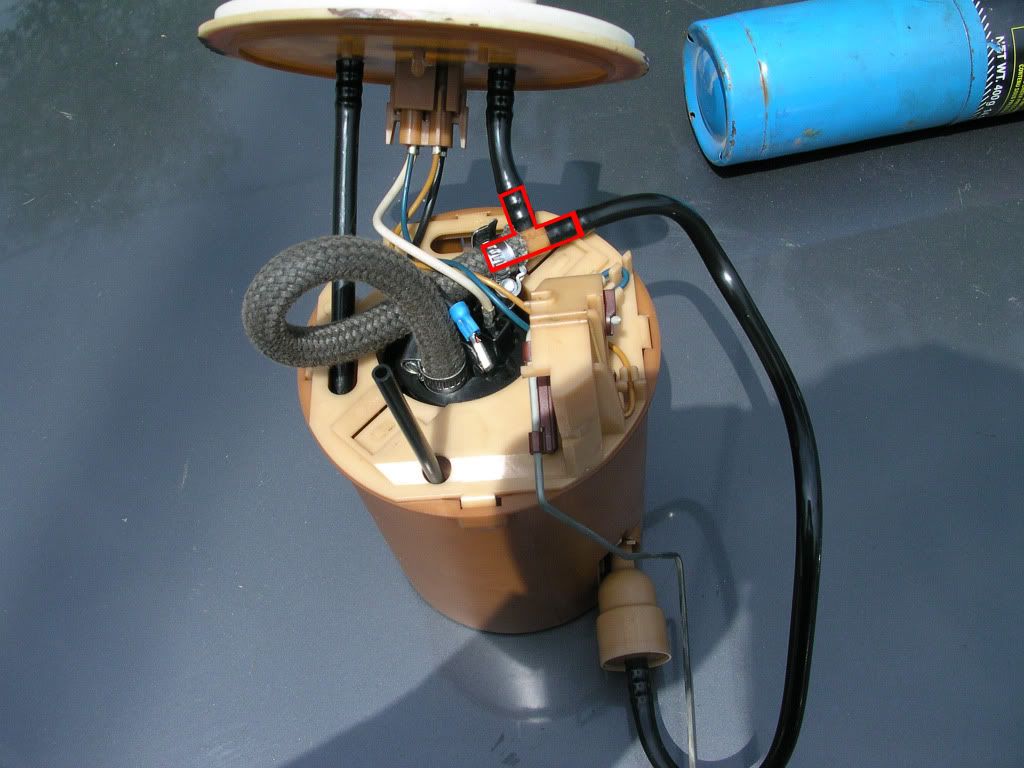
Use an exacto knife to cut the hose off the tee. I didn't take a pic but this will give you an idea. Use a fuel resistant hose & small hose clamps to reattach to the new pump and tee
![Image]()
Cut out the rubber cover to accommodate the new pump.
![Image]()
![Image]()
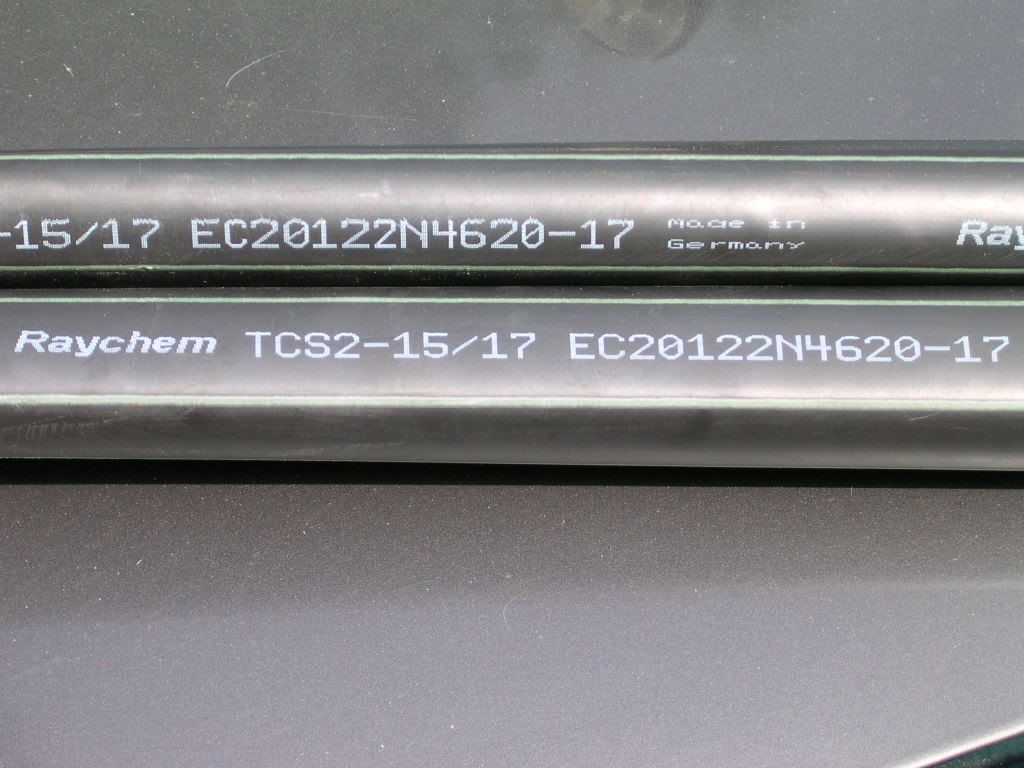
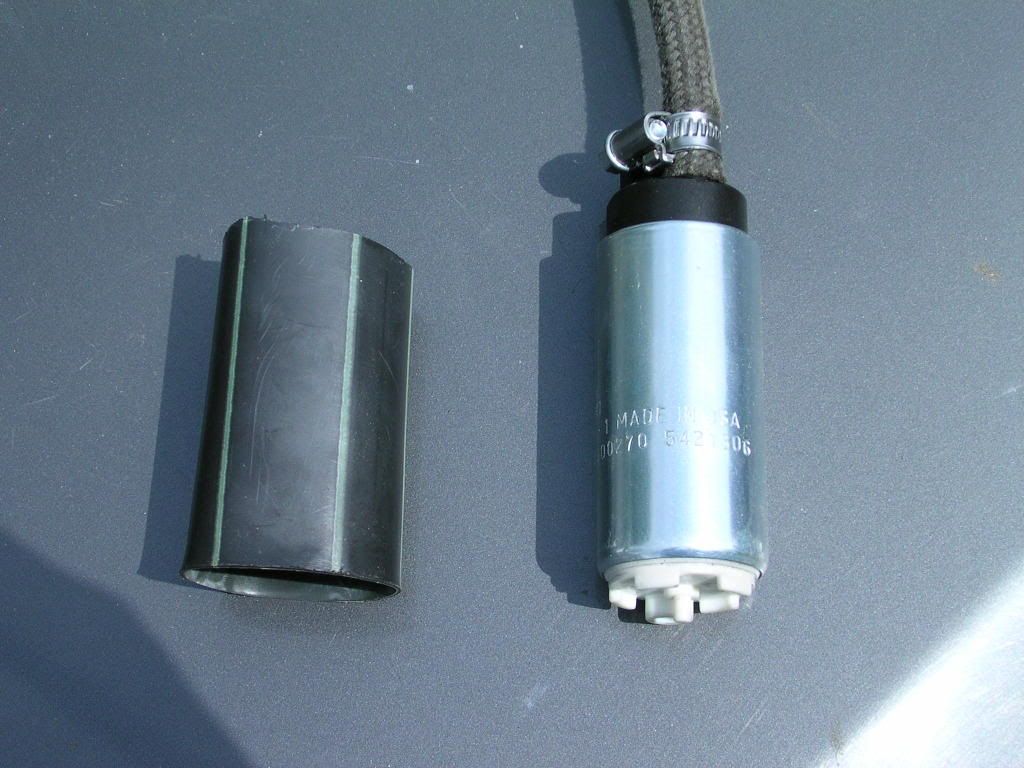
Since the pumps have different thicknesses, I used a heat-shrink to thicken it up a bit.
![Image]()
![Image]()
![Image]()
![Image]()
I used a second layer to thicken up the top part
![Image]()
Rubber placed back on the pump
![Image]()
![Image]()
![Image]()
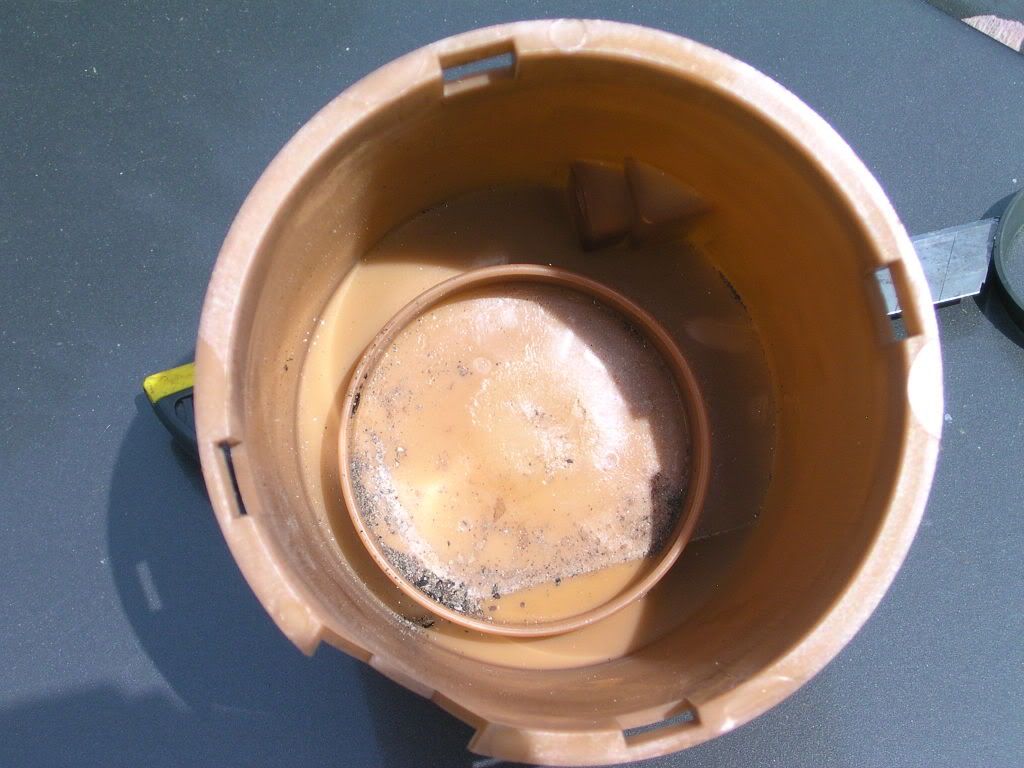
Clean inside the housing
![Image]()
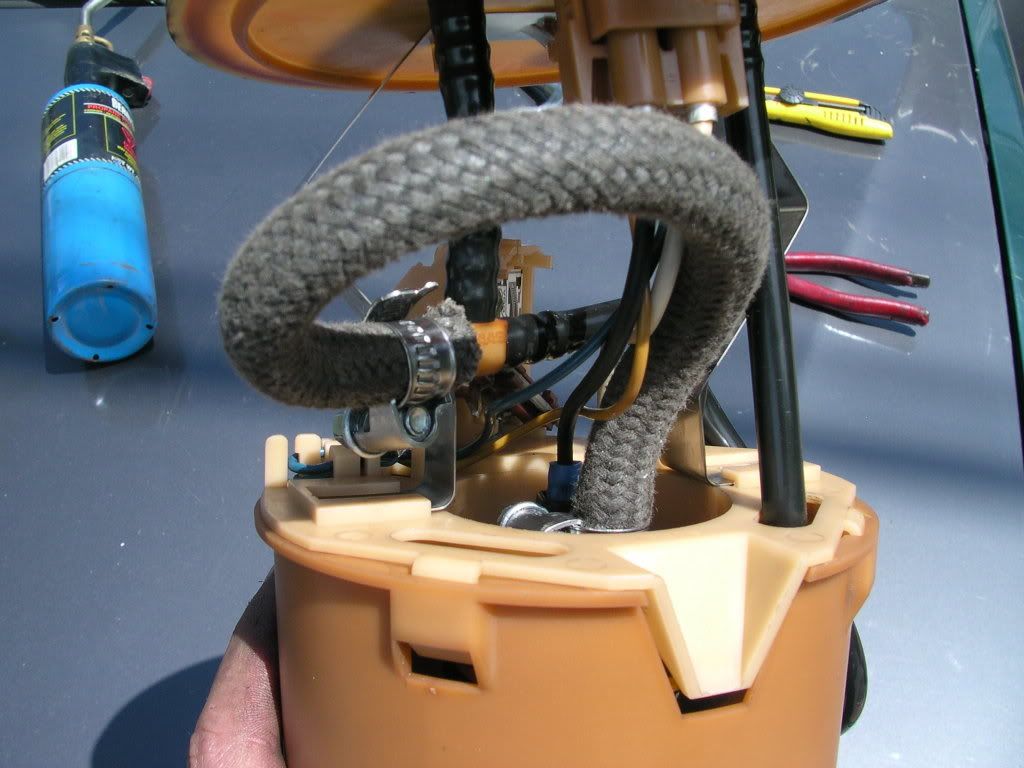
Reassemble everything
![Image]()
![Image]()
![Image]()
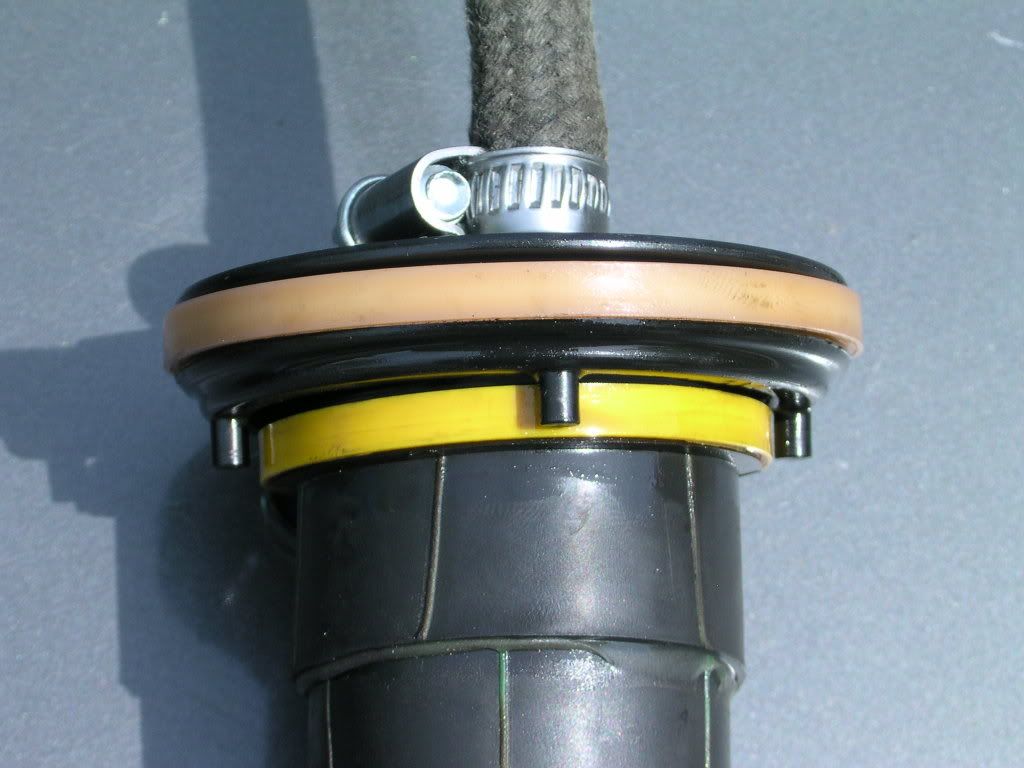
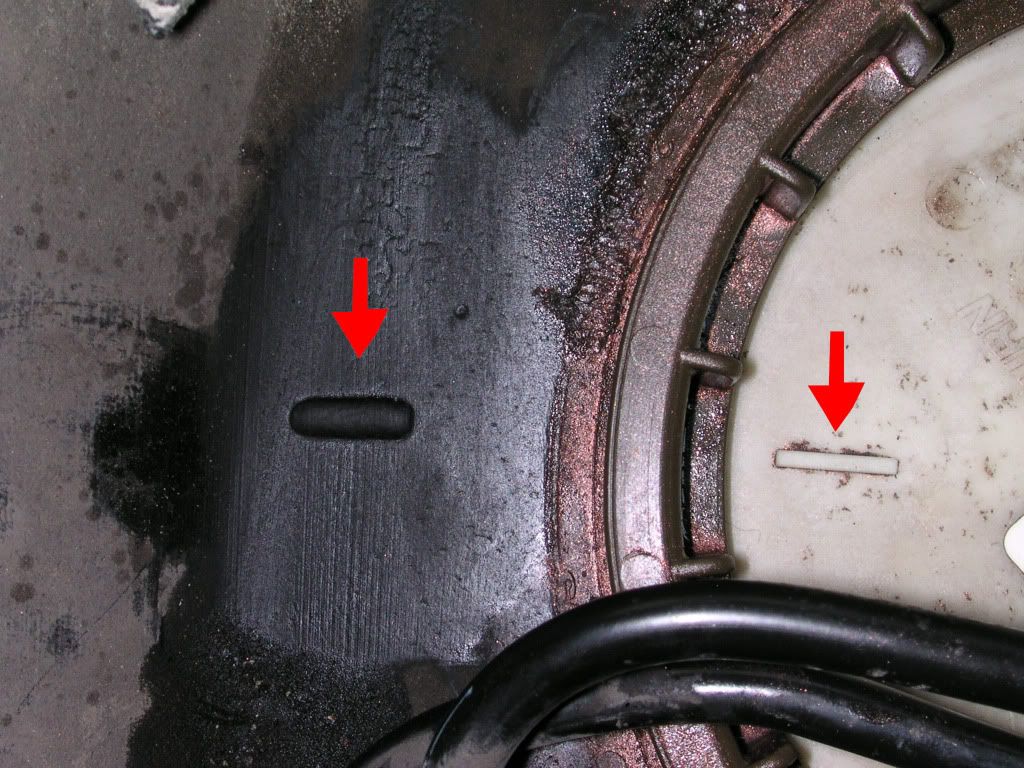
****Important**** Make sure these two markings line up, if they dont, your fuel level sensor will not work.
![Image]()
![Image]()
Close it all up and you're done
Enjoy
Pump I used
Comparison of Bosche (OEM) and the Walbro 255
Tool used to remove the pump housing's screw-on retainer, actually my tech gave me the wrong one. It had to have a bigger toothed wheel, but I made due and managed to take the retainer off without damage.
Location is right behind the rear seats, dead center of car.
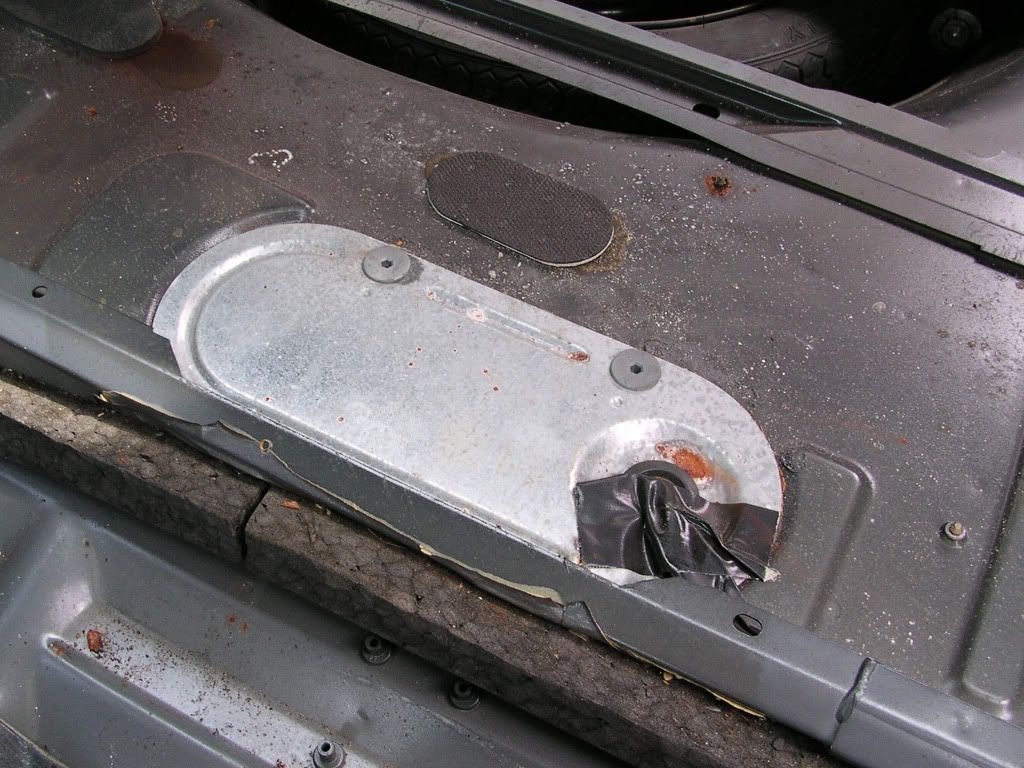
Remove the spare wheel cover to access the pump. There are two screws to remove, and it come right off.
Once the cover is removed, this is what it looks like.
Remove this retainer, might have to get creative, I sprayed it first with lots of WD40 and then used plier handles and twisted. When I say plier handles I mean the part where you normally grab was placed between two slots on the retainer and then I twisted.
Mark your return and pump hoses, and pry out slowly by hand, these thing can be pretty fragile. Don't pull on the hose part cause more than likely, you'll snap it right off.
Remove the pump housing at a slight angle, once out remove the metal bracket. It is clipped to the lid, just use a small screwdriver and unclip it.
Unplug this
Separate the housing by unclipping these
Use an exacto knife to cut the hose off the tee. I didn't take a pic but this will give you an idea. Use a fuel resistant hose & small hose clamps to reattach to the new pump and tee
Cut out the rubber cover to accommodate the new pump.
Since the pumps have different thicknesses, I used a heat-shrink to thicken it up a bit.
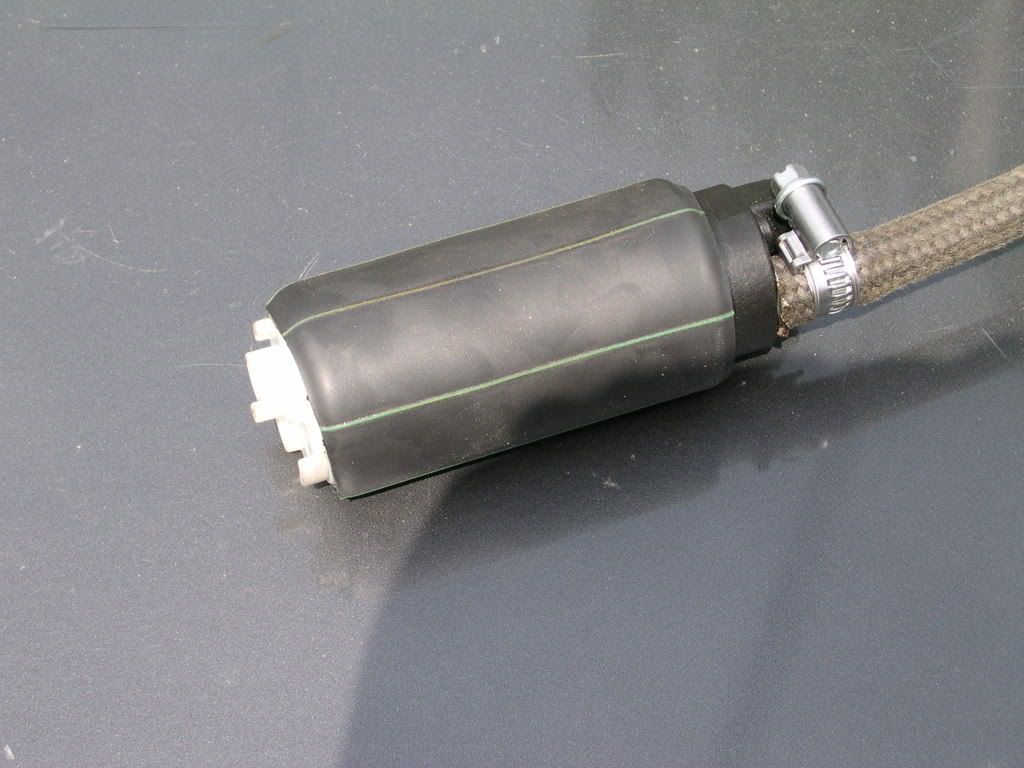
I used a second layer to thicken up the top part
Rubber placed back on the pump
Clean inside the housing
Reassemble everything
****Important**** Make sure these two markings line up, if they dont, your fuel level sensor will not work.

Close it all up and you're done
Enjoy
")


