
Since I have played around and found the best brace options on my drag car and found it to be a worthwhile upgrade.. There is one problem though. As made that one is designed for a shell, not a complete car.
There are some options.
Need to be removable or is function a priority and semi-permanent mounting ok? Drilling? I am more function oriented. Not going to make one that does nothing though..")
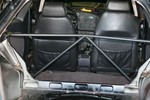
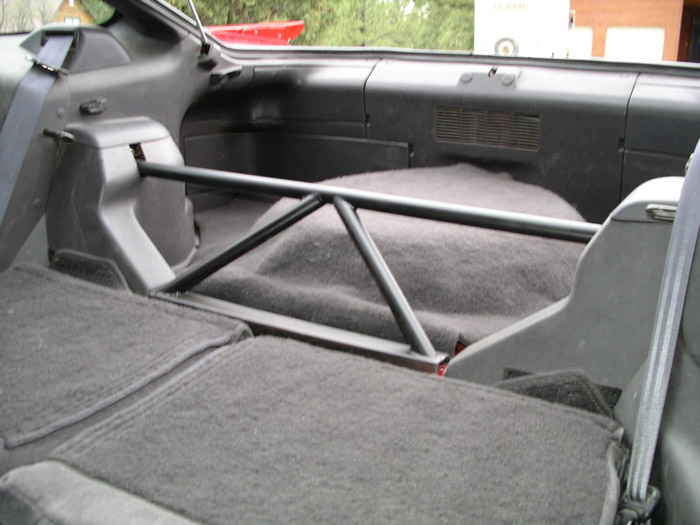
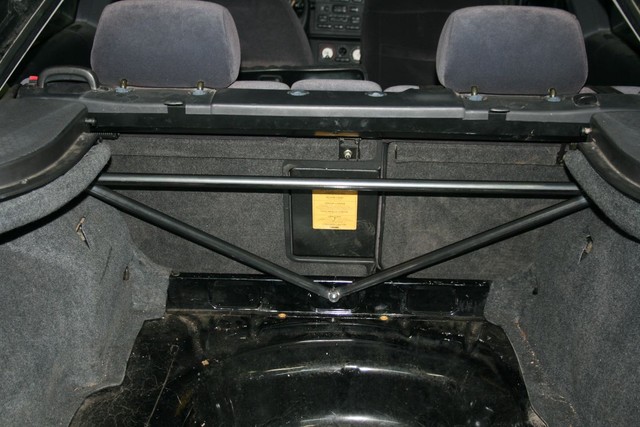
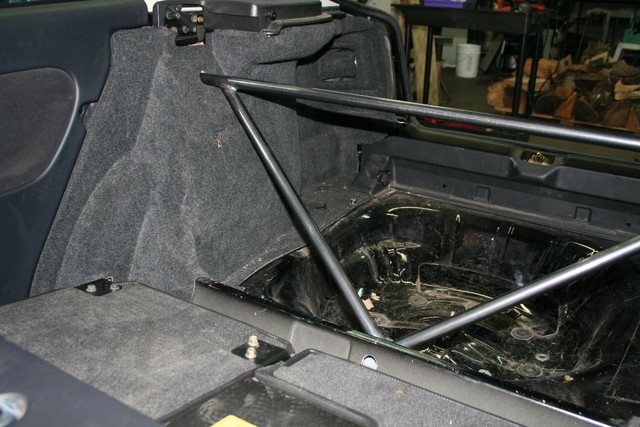
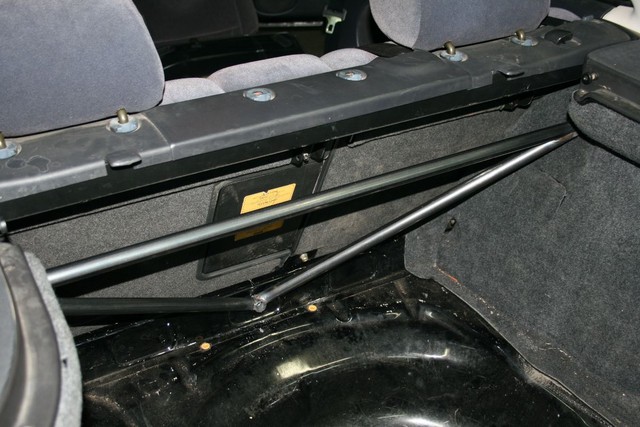
For reference.
![Image]()
There are some options.
Need to be removable or is function a priority and semi-permanent mounting ok? Drilling? I am more function oriented. Not going to make one that does nothing though..
For reference.